Want to learn how to find & fix pool leaks like a PRO?
You’ll learn all of that, and more in this post
You can find swimming pool leaks both inside and outside of your pool. From the equipment pad and plumbing to the walls and fixtures – there are plenty of spots where pools leaks occur.
But what’s important is knowing how to find and fix those pool leaks. And when it comes to pool leak detection, making sure that you’re dealing with a real pool leak is the best place to start.
So in this post, you’ll learn how to test for pool leaks, how to find them, and how to fix them.
Pool Leak Detection
How To Find & Fix Pool Leaks
Like a PRO
How to verify that your pool is leaking: The Bucket Test
Before you go any further in this post, it’s highly recommended that you take this step to avoid wasting time later. Because often, natural evaporation can easily be confused for a leak.
And if you’re going to go through the trouble of both finding, and fixing a pool leak, then it’s well worth your time to make sure you actually have one.
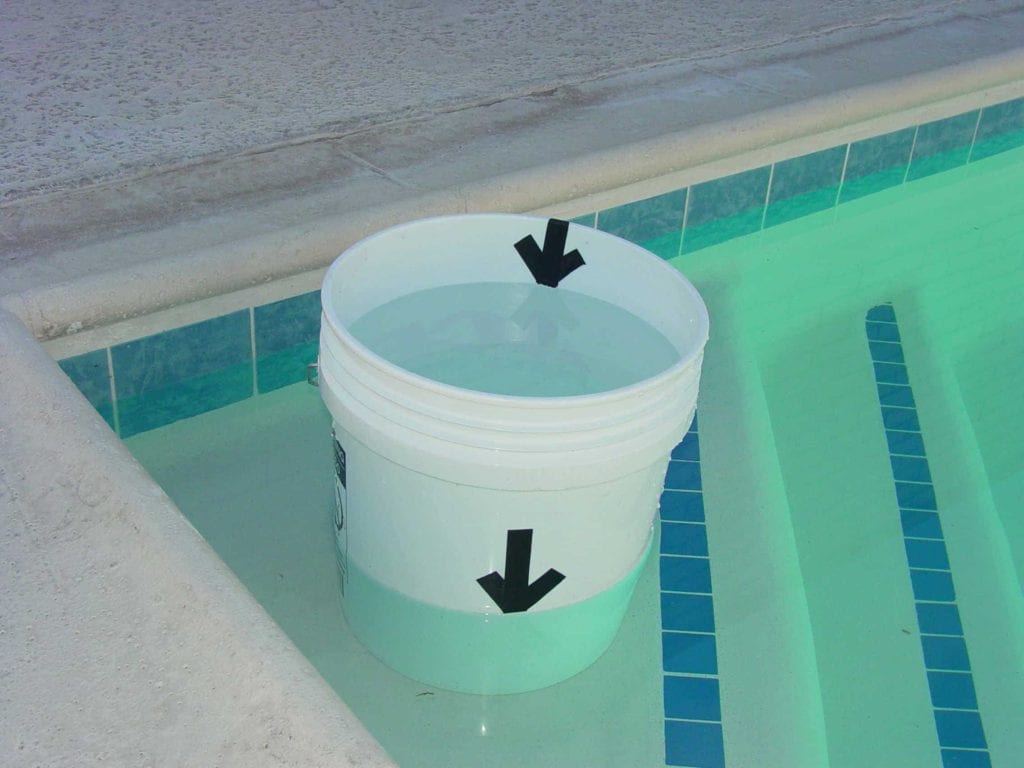
So for that, we recommend the tried and true method of, The Bucket Test.
Doing the bucket test is simple, and you only need a few things to do it:
- A 5-gallon plastic bucket
- A marker, or tape
1.) Fill the bucket, and place it
There are two ways of doing this:
For the first way, you place the bucket on the 1st step of your pool and fill it with water (from your pool) to line up with your pool’s water level. So at least half of the bucket will be submerged in your pool.
But if your pool doesn’t have built-in steps, then you can place the bucket outside of the water, on your pool deck. If you do the bucket test this way, it’s especially important to mark the starting water levels for both your pool and the bucket using a marker or tape. Doing so makes it much easier to measure water loss later.
2.) Turn off your pool pump
Turn off your pool pump, and any other equipment that adds water to your pool (ex. automatic levelers).
3.) Wait 24 hours, then measure results
Keep your pump off for a full 24 hours, then go back and compare the water levels of your pool and the bucket.
If both the bucket and your pool lost the same amount of water (or none at all), then you’re dealing with natural evaporation.
But if your pool lost more water than the bucket, then you very likely have a pool leak.
NOTE: For the best accuracy, we recommend measuring any water loss in centimeters or inches. This data is important for the next step.
4.) Repeat to find the pool leak area
Now that you know there’s a leak, it’s time to narrow down where it’s coming from. To do that, run the same test again, but only this time, leave your pump running for 24 hours.
With water circulating through the pool, your pipes and plumbing will now be factored into the test.
5.) Compare pump off vs pump on results
After 24 hours of running your pump, go back and measure the water loss of your bucket and pool again.
Is it greater than the water loss you had the first time when the pump was turned off? If so, there’s a good chance you’re dealing with at least one leak in your plumbing.
But if the water loss is the same as the first test, then you can safely limit the location of the leak to the inside of your pool.
How much does it cost to fix pool leaks
In most cases, the cost to fix pool leaks ranges from about $60 to $140 depending on how many leaks need fixing.
Here’s the pricing list for everything you need to fix pool leaks:
- Silicone pool sealant: $15 – $25
- Pool plaster mix: $20 – $50
- Pool putty: $15 – $30
- 5-gallon bucket: $5 to $15
- Marker or tape: $1 – $3
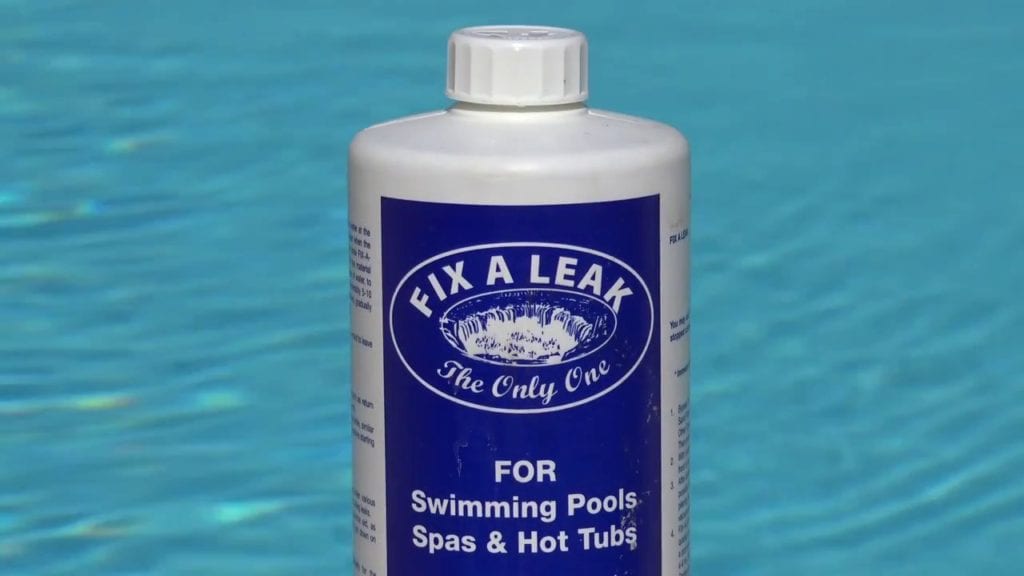
- Pool leak detection dye: $5 – $10
Where do pool leaks come from?
Once you know that you’re dealing with a pool leak, the next step is finding where it’s coming from. But in order to do that effectively, you have to know where to look.
Here are some of the most common spots for pool leaks:
- Cracks in the pool shell
- Holes and tears in vinyl liner
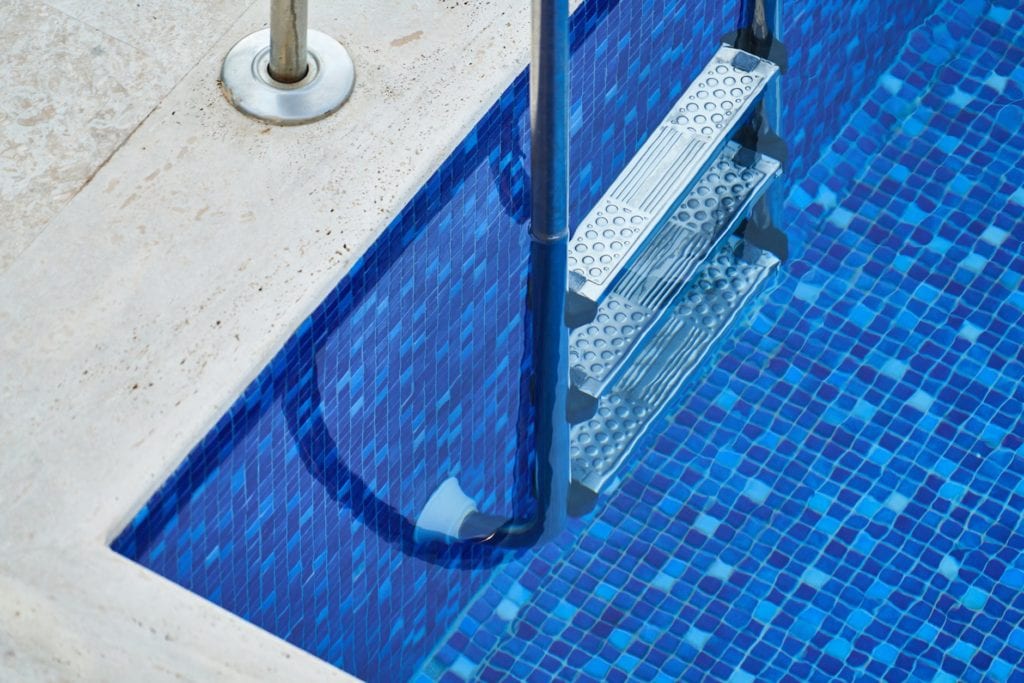
- Fittings (skimmers, returns, main drain)
- Pool lights
- Equipment pad
- Plumbing
How to find which area your pool leaks are coming from
Thanks to the bucket test, you now have a general idea of where the leak is coming from. But in order to get a precise location, there are a few more steps.
Luckily, this part of the pool leak detection process is pretty simple, and mostly a matter of elimination.
To start:
- Turn off your pool pump (at the breaker)
- Plug all the lines in your pool
- Raise water level to mid skimmer
- Wait 24-48 hours and let the pool “drain”
For this step, you’ll be running tests by allowing your pool to leak under different conditions:
- Pool equipment on
- Pool equipment off
- With the lines plugged & equipment off
- With the lines unplugged & equipment off
So from there, it’s just a matter of answering a few questions:
Does your pool always leak? (With both equipment on and off, and lines plugged and unplugged)
If so, you’re dealing with more than one pool leak, possibly both suction side and pressure side. Check for deep cracks in the pool shells, tears in the vinyl, and worn out sealant between the skimmer and the concrete.
You may also want to have your plumbing lines pressure tested by a professional.
Does your pool only leak with the equipment on?
If so, the leak is pressure side, and likely coming from the equipment pad or underground.
Does the pool leak from the equipment pad?
Check the ground around your equipment pad for moisture and large puddles. Run the pump and look for steady trickling coming from any of the pipes, valves, or equipment inlet/outlets.
Also check for steady leaking coming from inside of the equipment itself, like your pool pump, pool heater, and pool filter.
Related: 4 BIG Reasons To Service Your Pool Equipment
Does your pool only leak with the equipment off and the lines plugged?
If so, then you’re dealing with a suction side leak in the pool. The source could be worn out sealant around fittings and lights, deep cracks in the pool shell, or holes/tears in the vinyl.
NOTE: If you want to rule out plumbing leaks, then plug all of your lines, turn off your equipment, and wait 24 hours. If the leaking continues at the same rate, it’s coming from the pool itself, and not the pipes.
Finding where the pool leak is coming from (Part 2)
For this, you’ll want to repeat the same steps from earlier. Expect with one difference:
Let your pool keep draining until it stops naturally. From there:
- Make note of where the draining stops/water stabilizes. Mark this point
- Look for wet spots/patches anywhere along the walls above the waterline
- In concrete and vinyl pools, small bits of debris can get sucked into cracks and holes. If you see this, it often reveals the location of a pool leak
- Write down any areas where you suspect leaks
- To confirm the location of the leak, use the pool leak detection ink test (next section)
Note: If the pool doesn’t drain at all, the leak may be coming from your equipment or plumbing
How to use pool leak detection dye to pinpoint the exact location of a pool leak
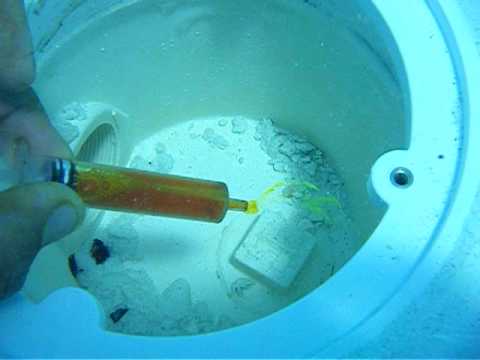
Now that you have a list of areas to check for leaks, the pool leak detection dye test will confirm which ones are the real sources. To start, follow these steps:
- Turn off the pool pump
- Gently enter the water, and move slowly to keep the water as still as possible
- The less your water is moving, the more accurate the test will be
- Squirt a little bit of dye close to the suspected leak area
- If the dye moves toward the leak and gets sucked through, then it’s a real leak
- If the dye doesn’t move at all, there isn’t a leak in that area
Now it’s finally time to fix those pool leaks.
How to fix pool leaks in the skimmer
- Dye test the faceplate & gasket
- Note: rust around the faceplate usually indicates a leak
- Tighten all the screws, and check again
- Dye test the inside of the skimmer body
- Also, test the area where the pool tile meets the skimmer
- Chip off worn sealant and plaster
- Replace old plaster with new plaster, like EZ Patch 1
- Use silicone sealant and pool putty to fill in leaks and cracks
How to fix leaking cracks in the pool wall
- Use the pool leak detection dye test to confirm that a crack is leaking
- Fill deep cracks with silicone sealant and plaster mix
- Fill smaller cracks with pool putty or plaster mix
- Apply a 2nd finishing coat of plaster mix
How to fix a vinyl liner pool leak
- Use the pool leak detection dye test to confirm leaking from holes and tears
- To patch a vinyl liner pool leak, you can:
- Use waterproof tape to seal and patch up the tear. Overlap the tape to cover the full area of the tear
- Use peel and stick vinyl patches. Just remove the paper, and firmly press it against the leak
- Use a vinyl patch kit. Cut a circle-shaped patch, and use vinyl adhesive to stick it to the leak
NOTE: all of the above products can be used both wet or dry. Although applying patches underwater is best.
How to fix a leaking pool conduit
- If water stabilizes at the top of the light, prob leak
in conduit - Use the pool leak detection dye test on suspected lights
- For confirmed leaking pool conduits, remove the screw at 12 o’clock and pull out the light
- Seal the conduit and retest for
- Make a golf ball-sized chunk of pool putty to seal the conduit
- Create a silicone sealant plug
- Use a light cord stopper/actual plug
How to fix a pool leak in pipes
While pool leaks in pipes aren’t common, learning the right ways to deal with them is worth your time as a pool owner.
When it comes to fixing leaks in your swimming pool’s plumbing, you’ll likely need at least some professional help. However, in most cases, it won’t involve complicated digs or construction.
To confirm that your swimming pool pipes are leaking:
- Turn off all pool equipment, and plug all lines
- Wait 12-24 hours
- If the leaking stops, then there’s a confirmed pool leak in the pipes
- Unplug and test each line one by one for leaking
- When the leaking starts again, you’ve found which plumbing line it’s coming from
- For better accuracy, call a professional to perform a pool pressure plumbing test
- This will pinpoint the exact location of the pool leak in the pipes
Once the leak is confirmed, you may need to hire a pool contractor to fix it. But usually, the job is simple, and only involves digging a small hole no more than 3 feet wide. So you won’t have to spend a fortune to fix it
Closing thoughts on pool leak detection and fixing
If you’ve read through this entire post, then you now know how to find & fix about 90% of pool leaks on your own. Fixing most pool leaks just comes down to finding where it’s coming from, and using the right tools to seal it shut.
If you ever have questions about pool leak detection, you can always use this post as a quick reference for solving most problems. But if you ever feel uncomfortable doing certain work yourself, then we recommend hiring pool professionals to help you get it done.
If you liked this post, you might also like:
11 Ways To Reduce Pool Energy Use By Over 50%
21 Pool Maintenance Mistakes That Are Wasting Your Time and Money
12 DIY Pool Cleaning and Maintenance Tips For Quick Improvising