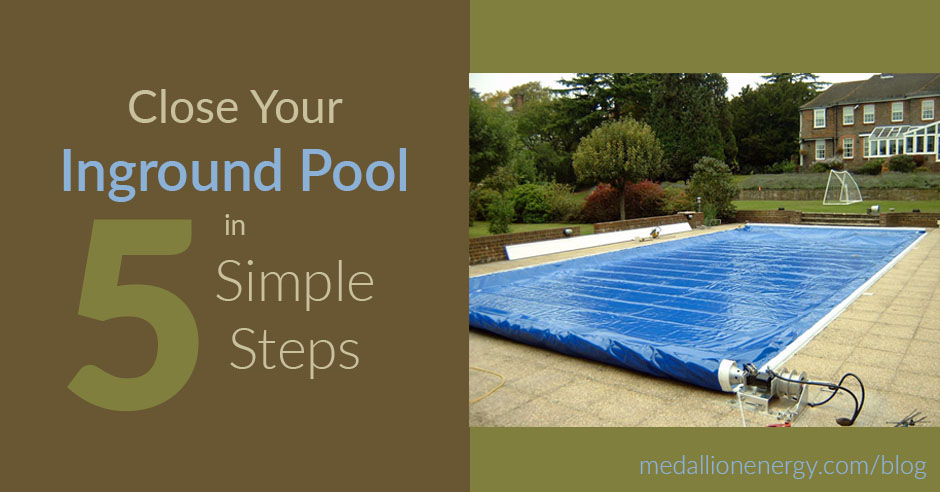
Need to close your inground pool?
Keep reading, in this post we show you how.
Closing your inground pool the right way makes a huge difference later. Especially when you go to reopen it in the spring.
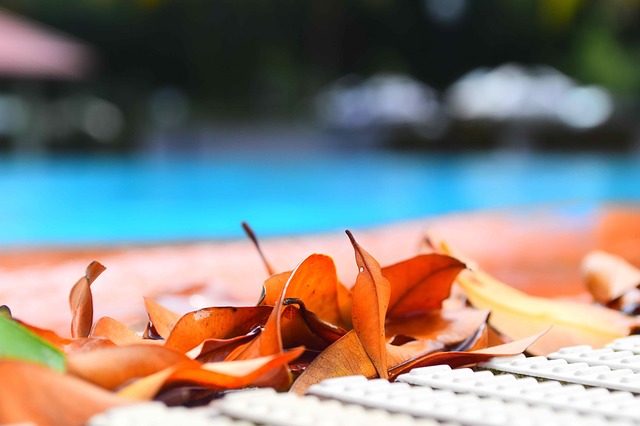
It’s the difference between unveiling a clean and clear, swim-ready pool, versus a green, murky, leaf-filled swamp.
Closing a pool may seem like a lot of work, but you can actually get it done really fast with the right approach. We’re talking in a day or less.
The little bit of time you spend now to properly close your inground pool saves you HOURS of work later when you reopen in spring. Plus you’ll need fewer chemicals to reopen as well, which is money saved.
So if you’re ready to close your pool, or preparing for it, keep reading. In this post, we explain everything you need to know – from the supplies you need, to what needs doing.
As you read, keep the pro tips below in mind. We’ll remind you about them throughout the post.
Pro tips for closing your inground pool:
- Do it before it gets too cold (32 degrees)
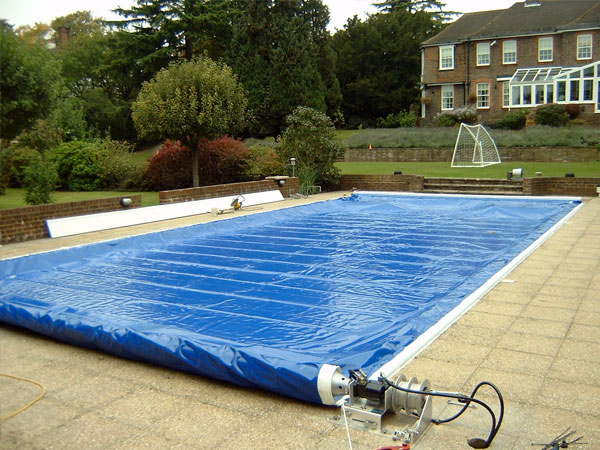
- Cover the pool
- Never skip winterizing steps ( it may cost you)
- Service your pool heater and filter pump BEFORE closing for a stress-free spring opening
- Clean the pool before cover
- Turn off (and clean) your saltwater generator
- Clean the filter
- Power down and winterize water features (fountains, waterfalls, sprinklers)
CLOSE YOUR INGROUND POOL IN 5 QUICK STEPS
Why properly closing your inground pool is so important
Reasons to properly close your inground include:
- Avoid expensive freeze damage to pipes and pool equipment
- Spend less money on pool opening chemicals
- Save energy
- Avoid metal and organic staining
- Prevent excessive debris and buildup during offseason (less cleanup later)
- Avoid wasting time reopening in the spring (get back in the water faster)
- Reduce stress knowing everything will work the day you reopen
When to close your inground pool
Figuring out the right time to close your pool, and how to do it, comes down to two factors:
Your location, and the time of year
If you live in a colder climate with winters below 60 degrees, start closing your pool once temperatures steadily drop below that point. So once you’re seeing day after day with temperatures below 60, that’s your cue.
This is usually around August to November.
However, if you’re using a pool heat pump, you can easily keep your pool warm and extend your swim season by a few months. And that means a later closing.
But if you live in a hotter climate, with mostly warm weather year round (above 60 degrees), you don’t have to close your pool. You can keep your pool open during the winter, just remember to keep your pump running, and your water warm and clean.
If you live in a hot climate and still want to close your pool, wait until the colder weather rolls in – usually between November and January for most.
Related: 7 Ways To Extend Your Pool Season
What you need
Before we start going through the steps, take a few minutes to make sure you have everything you need. Here’s a supply list for closing an inground pool:
- Pool water test kit
- Chlorine (or pool sanitizer of your choice)
- pH increaser
- pH decreaser (if necessary)
- Calcium hardness increaser
- Alkalinity increaser
- Alkalinity decreaser (if necessary)
- Cyanuric acid
- Shop vac OR air compressor
- Winter pool cover
- Rubber plugs
- Skimmer plug/guards
- Pool brush
- Pool skimmer attachment
- Telescopic pole
- Pool vacuum
Specific chemicals to put in your pool for winter (pool winterizing chemicals):
- Algaecide
- Kills algae and prevents algae growth
- Pool enzymes
- Prevents organic staining and fights buildups
- Metal sequestrant
- Captures loose metals in the water and prevents staining
- Shock
- Optional: Pool winterizing kit
How To Close Your Inground Pool
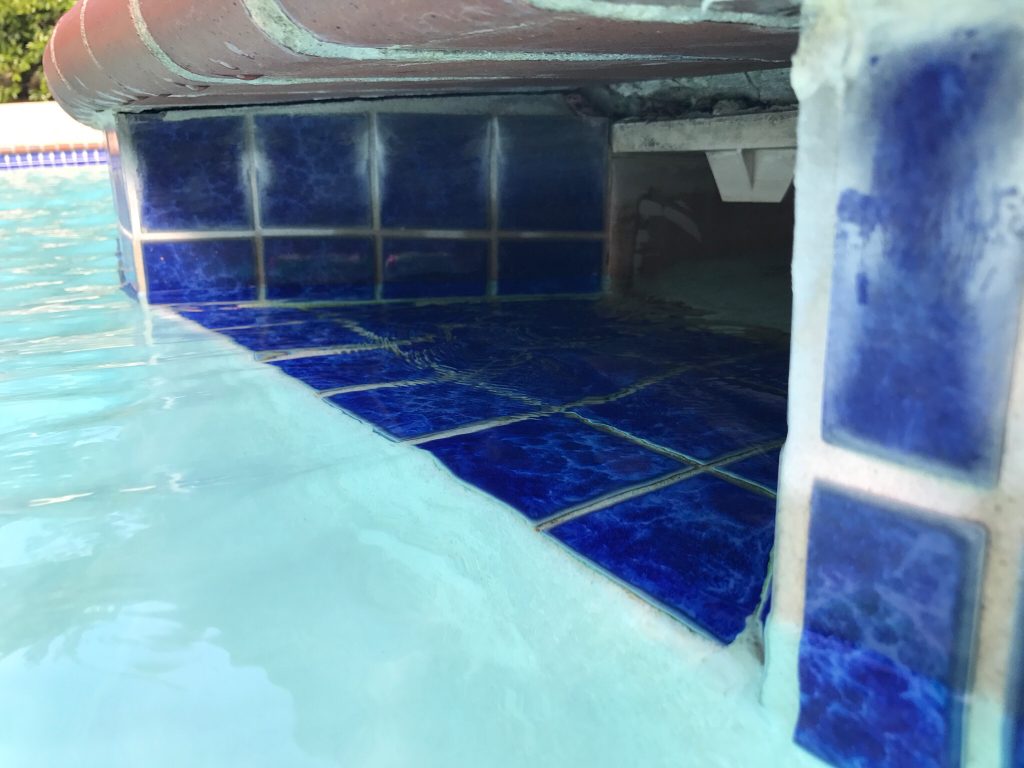
1.) Clean the pool and balance the water
Don’t skip this step – even if your pool looks clean. Pool contaminants are often unseen – so it’s not worth the risk of a messy cleanup come spring.
Grab your telescopic pole and brush attachment, then scrub each wall of your pool from left to right. This loosens buildup and algae spores, which makes them fall to the floor for easy treatment and cleanup.
Don’t forget to scrub the stairs, ledges, and behind the ladder.
After brushing, grab your skimmer attachment and skim out everything you can see on the surface.
Last, attach your vacuum hose to your simmer line, and thoroughly vacuum the floor of your pool. We recommend starting on one end of your pool and working your way up and down the length of it vertically.
Related: 21 Pool Care Hacks That Make Pool Maintenance Easy
1a.) Balancing your pool water
Now that your water is visibly clean, it’s time to clean it up on a chemical level. This means getting your water properly balanced and sanitized for the offseason.
To balance your water, adjust pool chemicals to these levels:
- Adjust Total Alkalinity
- Ideal range: 80 – 120 ppm
- Adjust pH
- Ideal range: 7.4 – 7.6
- Balance Calcium Hardness
- Ideal range: 200 – 400 ppm
- Add sanitizer (chlorine, bromine, or biguanide)
- Ideal range: 3 ppm (chlorine)
- Measure Total Dissolved Solids
- Ideal range: Less than 2,000 ppm
Need more help with balancing your water?
Check out: How To Balance Your Pool In 7 Easy Steps
With your water balanced, it’s time to add your pool closing chemicals. These are the specific chemicals that keep your pool clean, clear, and healthy while it’s closed during the winter.
- Add a metal sequestrant to avoid rust, iron, and copper staining
- Add a dose of pool enzymes for organic stain protection, and to improve algaecide effectiveness
- Algaecide treatment to prevent algae spores. Double the treatment if you’re using a solid, non-draining pool cover.
- Shock your pool
If you have a special winter closing kit or Winterpill, now is the time to add it. Just be mindful of any chemicals that you may have already added in earlier steps
2.) Clean your filter and other pool equipment
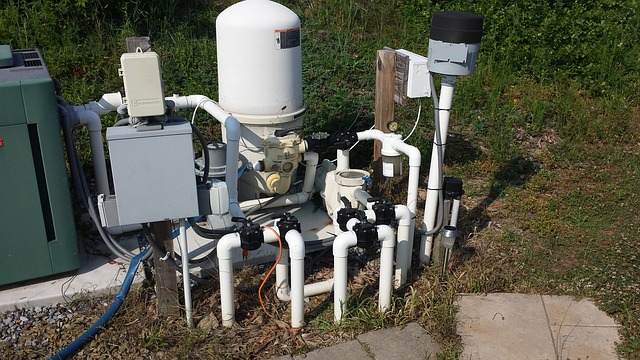
With your swimming pool clean and balanced, next is your pool equipment. Here’s what to focus on:
- Pool filter
- Skimmer basket
- Pool pump basket
To clean a cartridge filter, take off the top housing, and remove the cartridges. From there, clean the cartridges using a filter cleaner or soapy water. Then, rinse them clean with a hose, and replace or store them once dry.
If you have a sand filter, set your filter valve to backwash and run your pump. Alternatively, you can also use a special sand filter cleaner.
To clean a DE filter, simply backwash it. For added measure, you can also remove the grids, rinse them off with a hose, and add a cup of DE powder through the skimmer.
Before moving on:
- Open up your skimmer lid and clean out the basket
- Clean out your pool pump basket (turn it off first before opening it)
IMPORTANT: At this point, leave your pool pump running for the next 24 hours
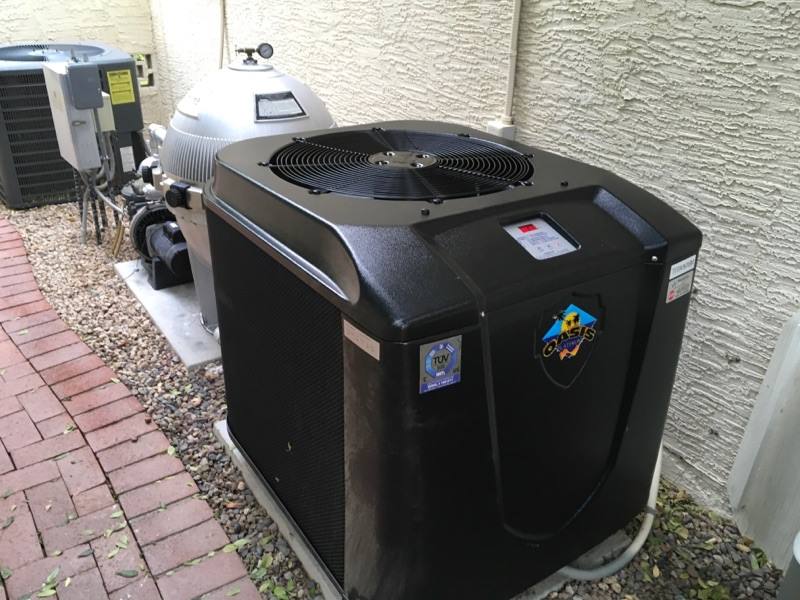
2a.) Service your pool heater and filter pump
Most guides on closing your inground pool don’t mention this, which is unfortunate. Especially considering the hundreds, if not thousands of pool owners who open their pool each year, only to discover that water isn’t flowing, or that their heater isn’t warming up.
No one wants to swim in a cold, dirty pool.
Servicing your pool heater and pump extends their lifespans and keeps them running at peak performance. Both of which saves you money on energy costs, and expensive repairs.
A well-maintained pool heater and pump offer WAY better energy efficiency, which translates into hundreds in energy savings each pool season.
For servicing your pool heater, we recommend scheduling annual maintenance. It covers a full unit inspection, interior and exterior cleaning, and every test and calibration needed to keep your heater in top shape.
Related: 7 Ways Pool Heater Maintenance Saves You Money
3.) Lower water level
You’re more than halfway done, and most of the “heavy lifting” is out of the way.
This step is fairly simple. All you have to do is lower your water below the skimmer. This prevents overflow and stops water from getting into your pipes/equipment and causing freeze damage.
That said, exactly how many inches you have to lower your water depends on the type of pool you have, and the cover you’re going to use.
For fiberglass and vinyl pools, no lower than bottom skimmer level.
For concrete pools, 6-12 inches below bottom skimmer level.
And as far as covers are concerned:
- If you’re using a solid pool cover, lower your water level about 6-8 inches below the skimmer line
- For mesh or hybrid covers, lower your water level about 12-18 inches to make room for water draining into the pool
4.) Remove drain plugs and empty water from the pump, filter, and heater
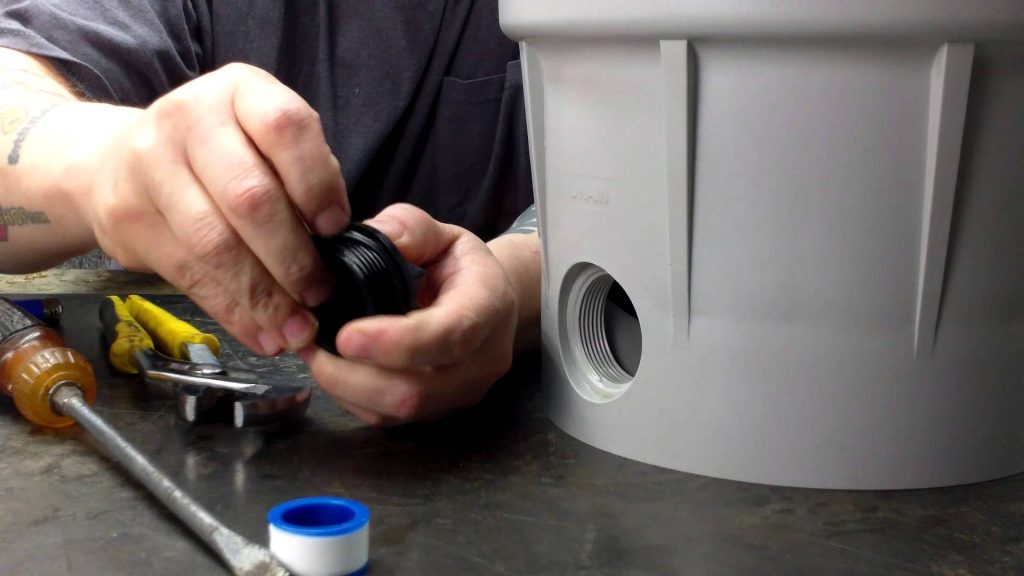
For this step, remove all of the drain plugs from your pool equipment (heater, filter, and pump). Your filter and heater may have more than one plug, so double check to be safe.
With the drain plugs removed, it’s time to clear out your pool equipment.
To blow out the remaining water in your pool equipment:
- Set your main valve to close
- Attach a shop vac to pool pump’s drainage port (where the drain plug was)
- Note: You may need a special attachment for this
- Turn on the vac to begin blowing out the water inside of the pump, heater, and filter
- You should see water flowing out of the different drain holes on your filter and heater
- Turn off the vac once the water stops coming out.
5.) Blow out and plug plumbing lines (air compressor)
Home stretch – it’s time to clear those lines. Up to this point, everything has been fairly straightforward. But for this step, things get a bit more technical.
So if you lack the proper equipment, or know how, we strongly recommend hiring a pro pool service to help you clear your lines. They’ll get the job done fast and safely.
Otherwise, you can follow the steps below to do the job yourself:
- Open the main valve and skimmer lines
- Attach an air compressor (or shop vac) to the pool pump drain plug opening
- May require a special attachment to connect to the pump drain plug
- Turn on the compressor
- Watch for bubbles coming out of the return lines
- Once you see bubbles, begin plugging each line, starting with the skimmer
- To plug your skimmer opening, use a skimmer guard
- Once you see bubbles coming out of your pool’s main drain on the floor, turn off the compressor
- Close the suction valve if possible
- If necessary, to reclear your pool equipment, follow the same directions from step 4
IMPORTANT: Now is also a good time to remove any pool accessories, like ladders or slides.
Cover your pool with a winter cover to finish
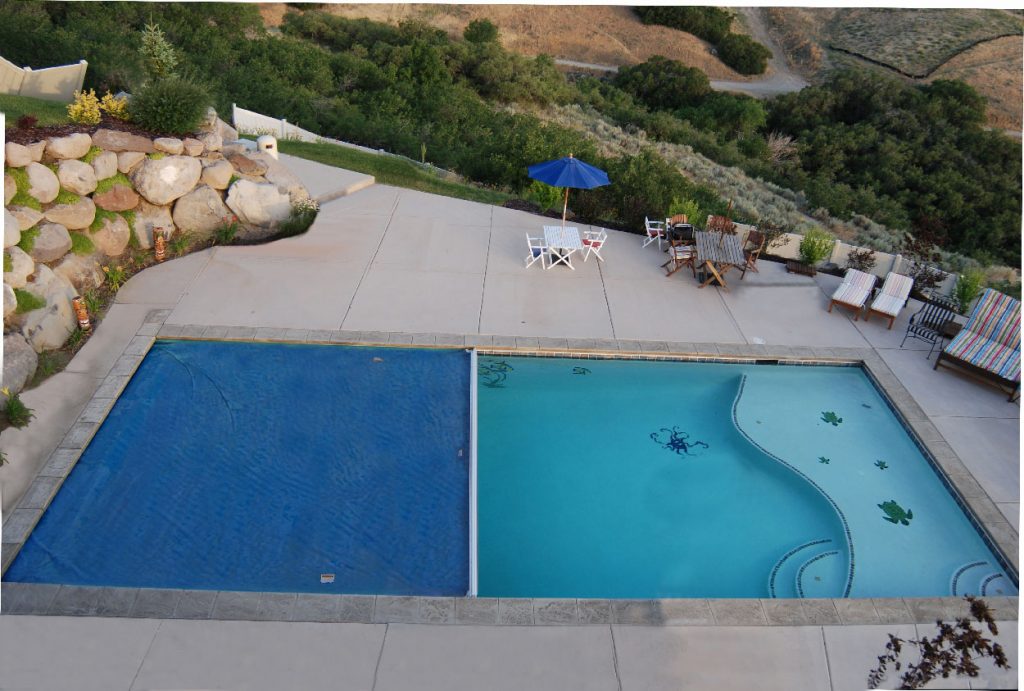
There are 3 main options for covering your pool in the winter:
- Winter cover
- A thin vinyl cover held down by water bags. Protects your water from the elements. Does not support heavy loads
- Solid Safety cover
- A thicker vinyl cover, safely secured by cover anchors, that protects your water and prevents hazard by supporting large amounts of weight.
- Vinyl Safety cover
- Similar to a solid cover, but constructed from mesh that allows for drainage. Supports heavy loads
To figure out which cover is best for you, check out this guide: Quick Guide To Swimming Pool Covers
A quick recap
Congrats, if you made it this far, then you’ve successfully learned how to close your inground pool. Here’s a quick recap of everything:
- Clean your pool and balance the water
- Add winter chemicals
- Clean your filter
- Clean skimmer basket and pump basket
- Service your pool heater
- Lower water level
- Remove drain plugs from pool equipment
- Clear the excess water out of pool equipment
- Blow out plumbing lines
- Cover your pool
If you liked this post, you might also like:
The Ultimate Pool Opening Checklist
20 Swimming Pool Myths: DEBUNKED